
Hail can cause significant damage to fruits and vegetables, affecting both the quality and quantity of the produce. To protect your crops, it is wise to use hail netting as it can effectively shield your garden or orchard from hail damage.
However, the installation of hail netting is equally important; otherwise, your crops may still get damaged, and you will waste your time and money. In this article, we will provide a detailed tutorial on how to install hail netting, covering the essential tools and strategies for both home gardens and large orchards.
Hail Net Installation Principles and Types
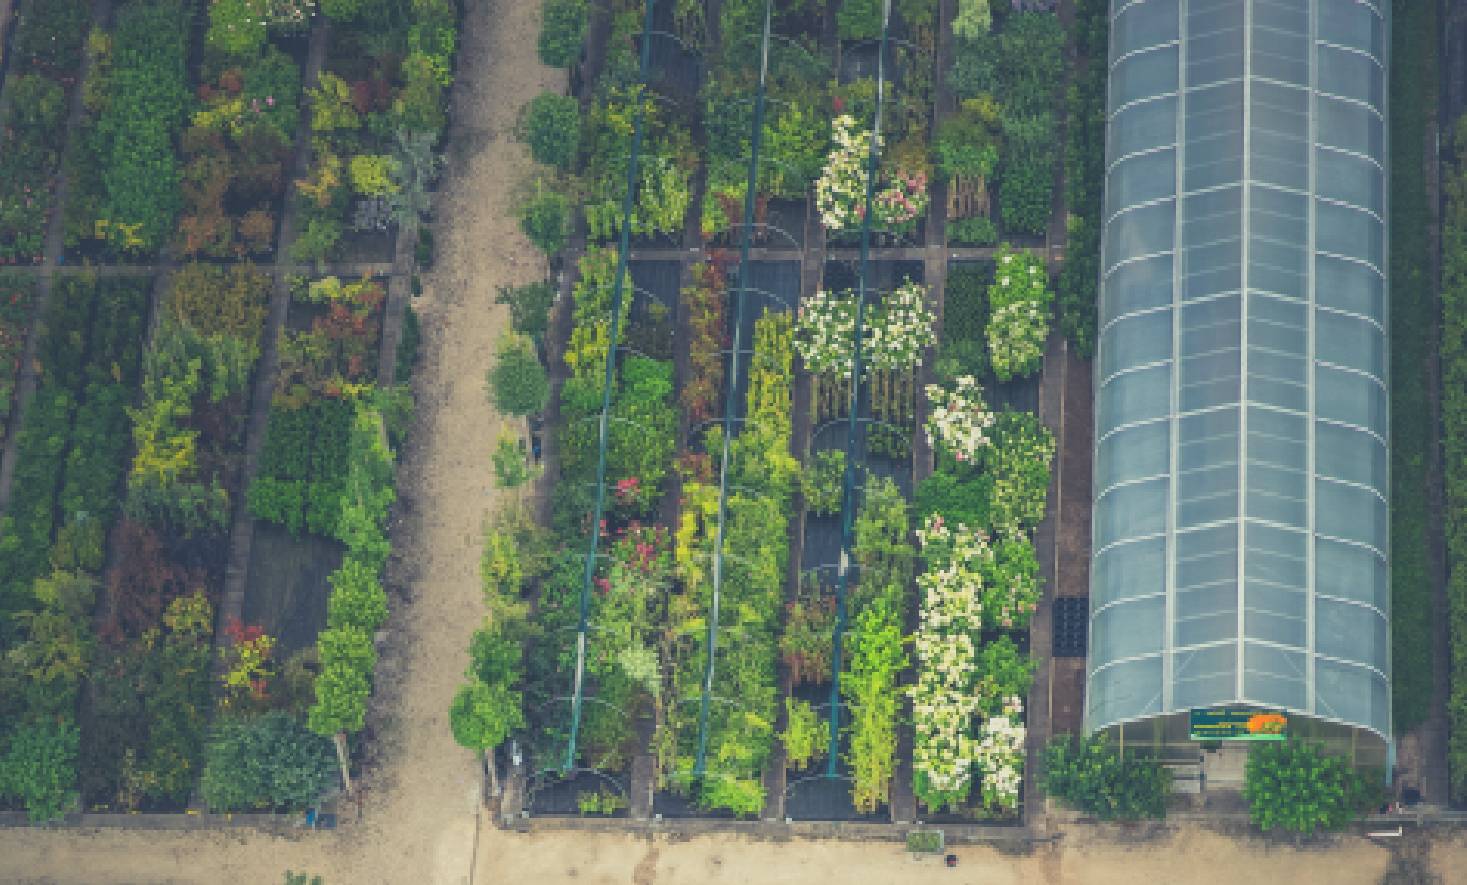
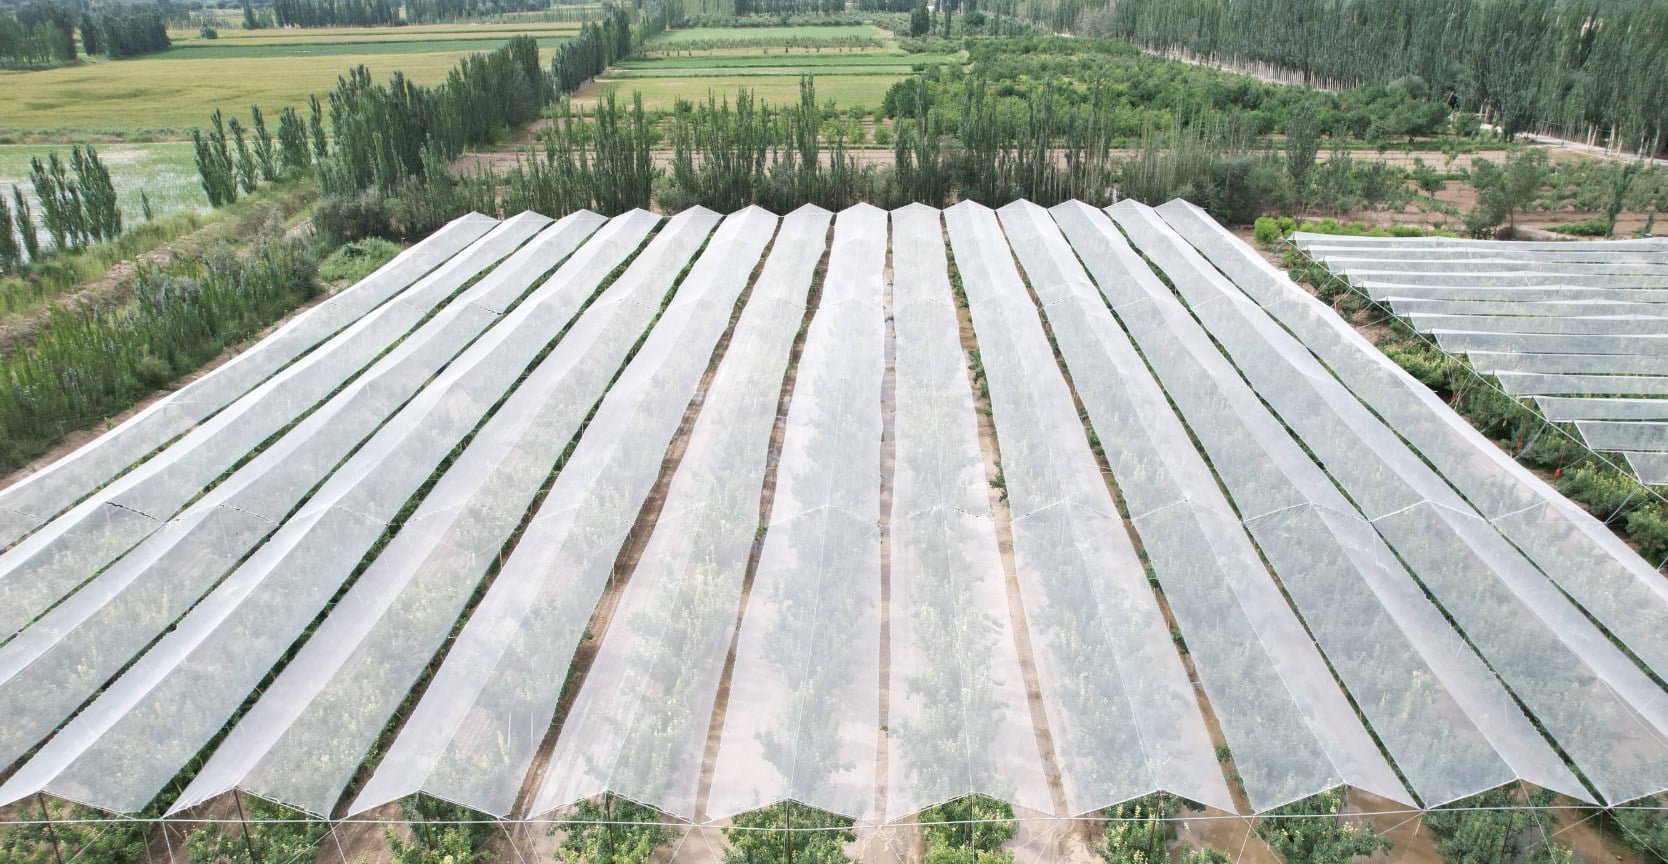
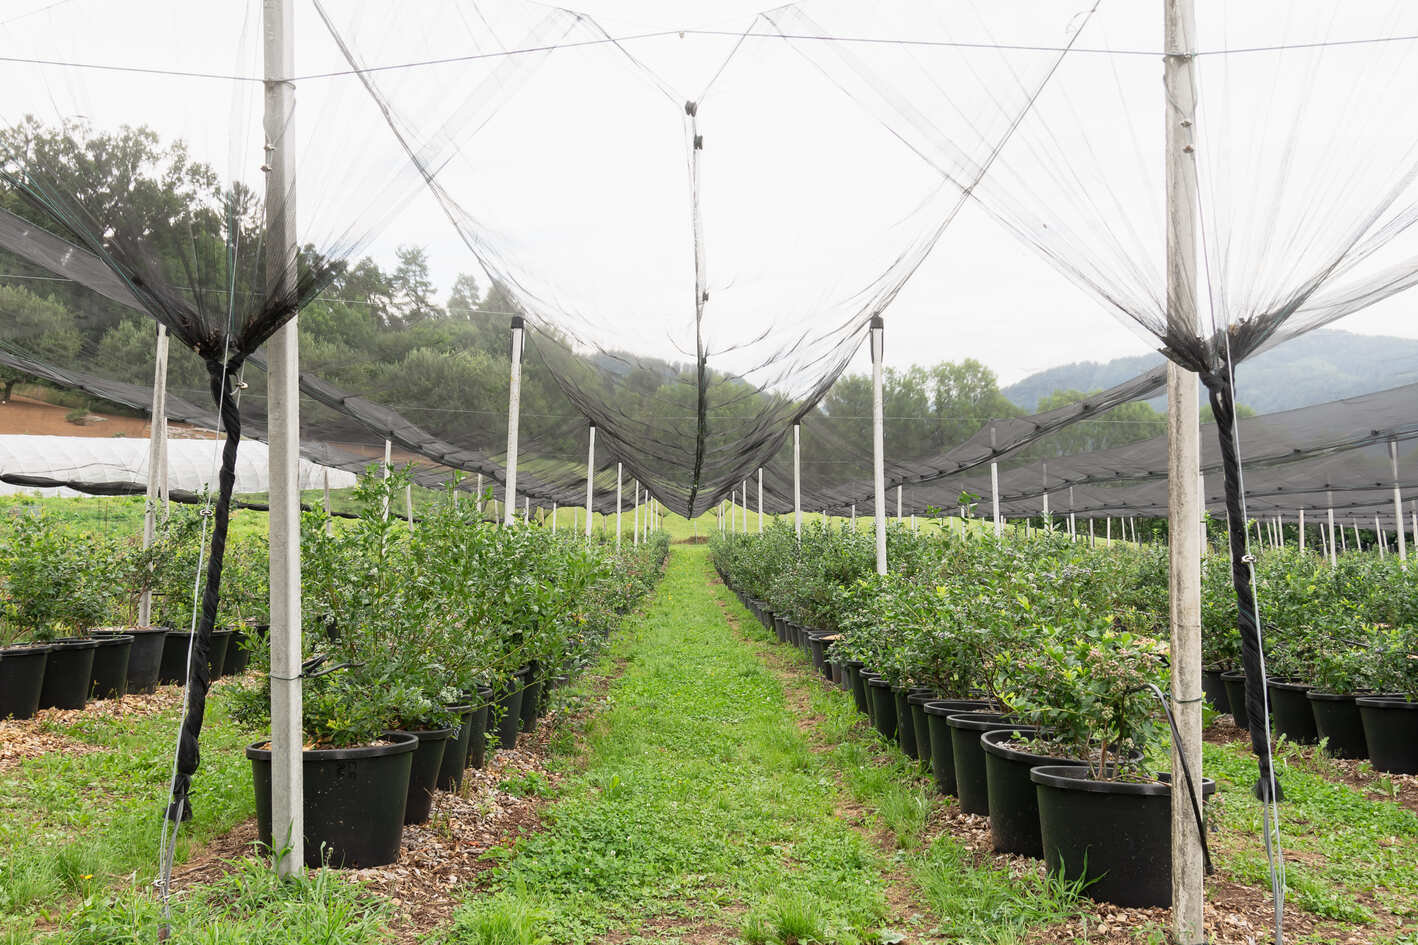
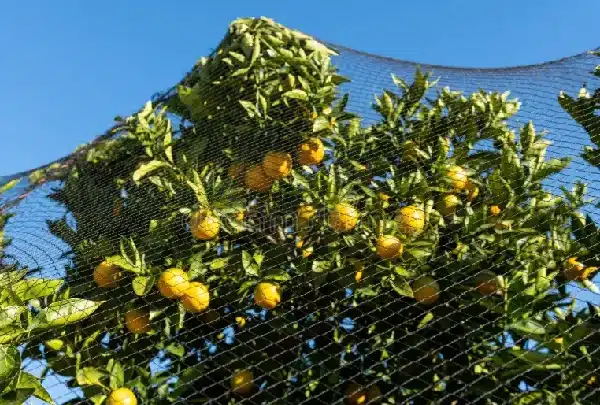
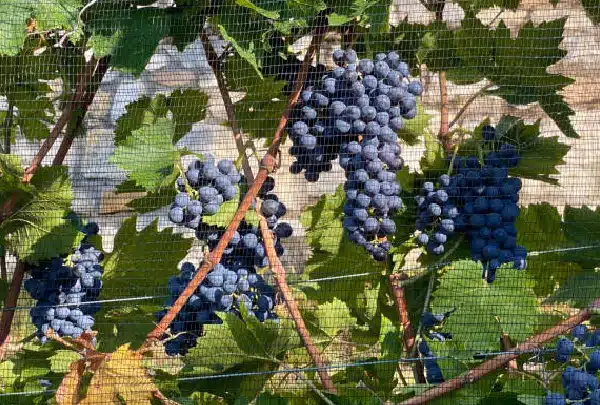
Installing hail nets involves laying nets over plants needing protection. There are two main types: overhead netting and draped netting. Overhead netting is installed over low-growing fruit trees and vegetables, creating a continuous net structure. There is a distance (usually 20-50cm) from the plants, allowing space for growers to work. Draped netting is hung on support poles or trees and wrapped around rows of fruit trees, usually used for larger, contiguous plantings.

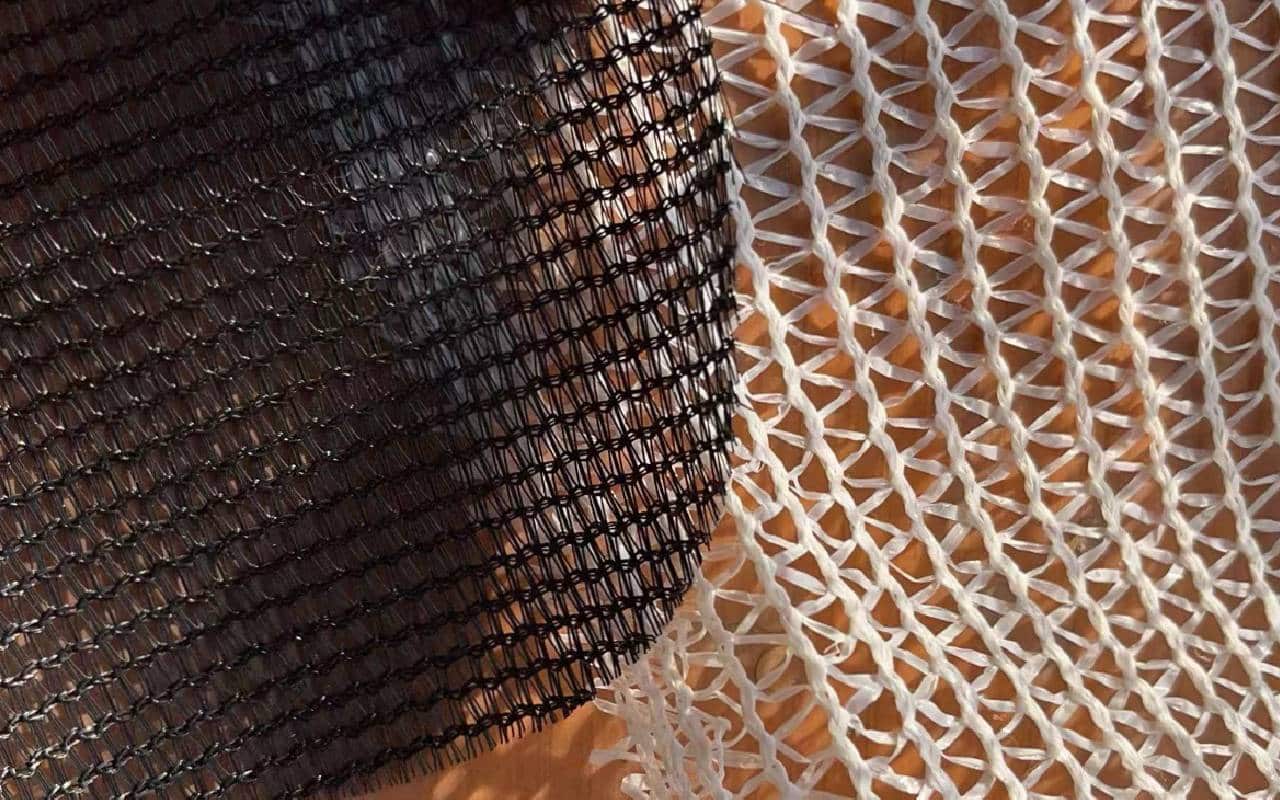
The picture below shows draped netting on the left and overhead netting on the right.
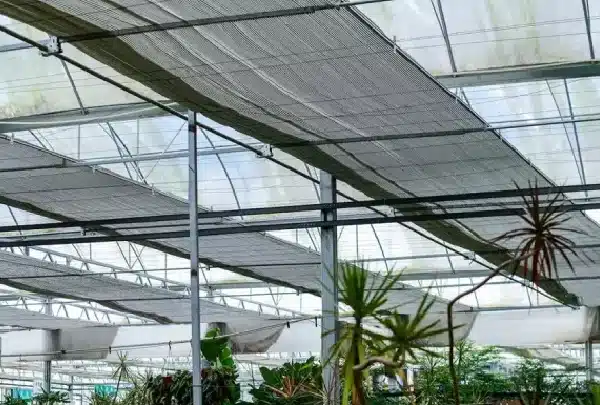
How to Install Overhead Hail Netting
For overhead netting, simply stretch the hail net and place it evenly over the plants or trees, keeping a 50 cm gap from the plant tops. If the area is large and one net isn’t enough, use ropes or connectors to join the nets.
After measuring the area, you can follow these steps to install the hail net:
Step 1: Determine Pole Positions
The position and spacing of the poles depend on several factors, such as terrain, wind force, farm size, and net weight. Typically, the distance between poles is 15 to 30 feet. Poles should be tall enough, usually 50 cm above the plants, to create a buffer zone for plant safety and worker movement. Knowing the pole spacing, calculate the number of poles needed, and prepare the necessary materials.
Step 2: Install Poles and Support Structure
Poles serve as the support structure, bearing the weight of the net, rain, and wind. For temporary use, materials like wooden or bamboo poles and existing structures like walls can be used to save costs. For long-term use, consider durable materials like steel, aluminum, or even concrete or stone pillars.
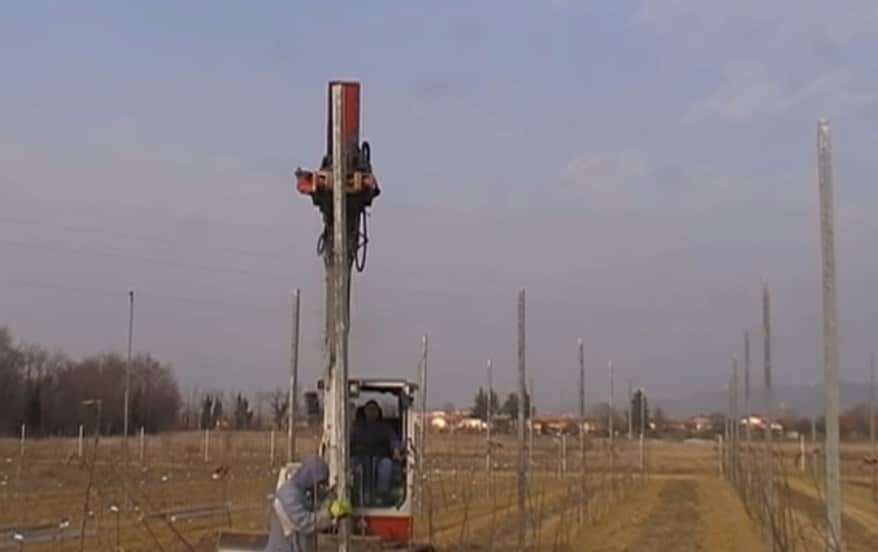
After selecting and preparing the poles, drill holes at the marked positions and install the poles. Make sure they are firmly anchored to the ground, sometimes using ground anchors and concrete bases. To prevent the net from being damaged by the pressure at the top of the poles, it is best to use a softer support pad, such as an unused tire or other finished product.
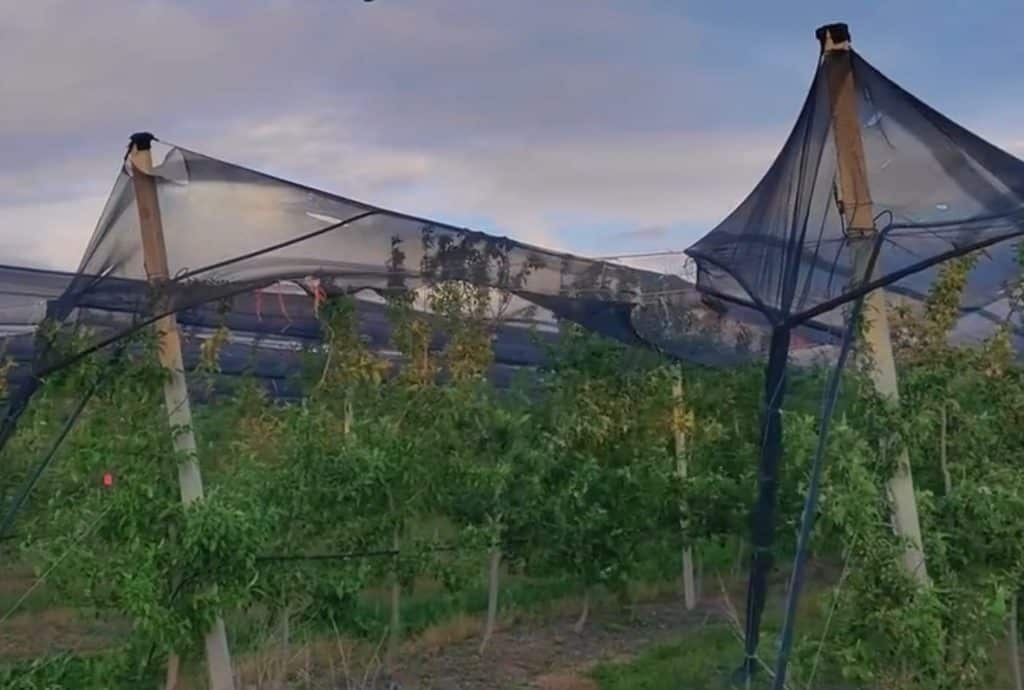
Note: By setting up posts next to the plants and making the top of the posts the highest point, the hailstones will roll off the sides after hitting the net. This prevents the plants from getting damaged by melting hailstones. This installation method ensures both the physical safety of the plants and prevents water damage from melting hail.
Step 3: Connect the Poles to Form a Support System
Install crossbeams or rods, or use steel wires or cables to connect the poles to support the net at the top. Ensure that the connections between the support structure and the poles are stable.
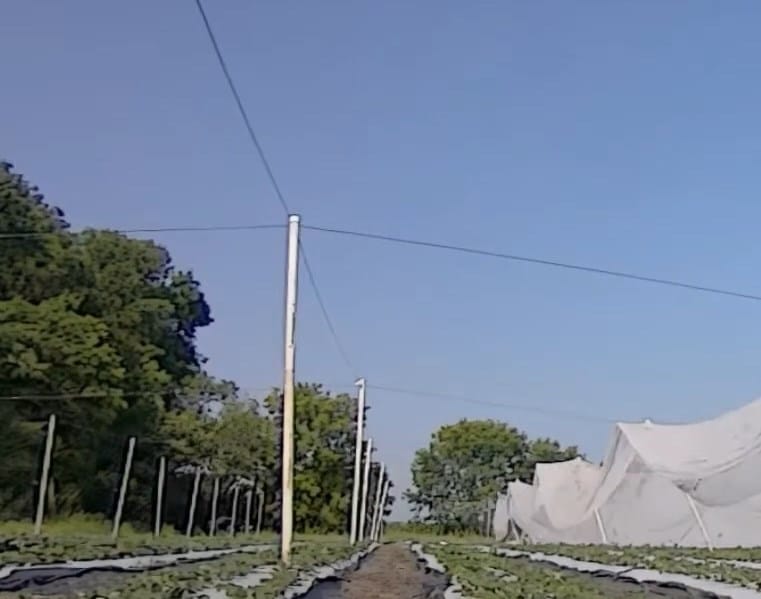
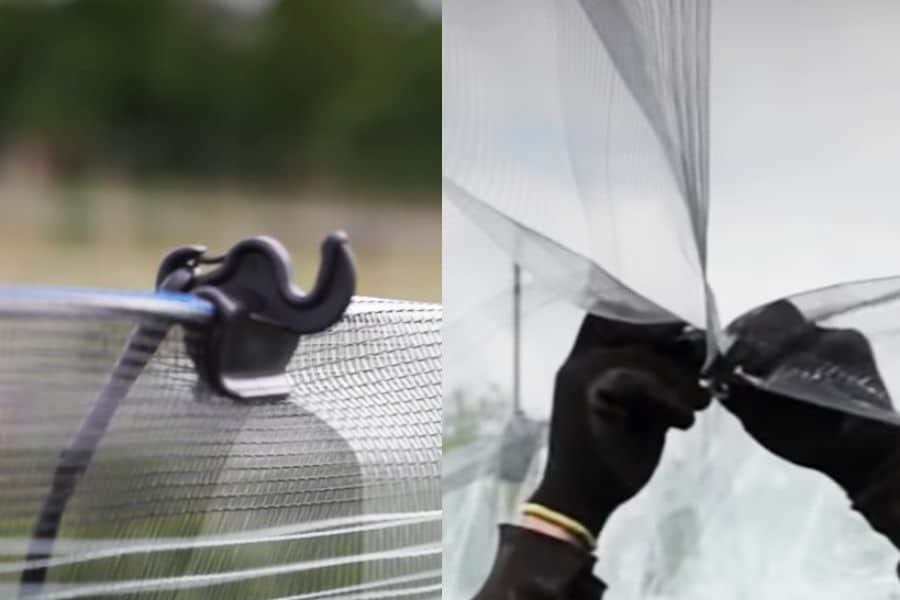
Step 4: Unroll and Secure the Hail Net
Carefully unroll the hail net, ensuring no damage to the net. Stretch and secure the net to the poles and support structure. Make sure the net is taut but not too tight to avoid tearing in wind, rain, or hail. Finally, use ropes, connectors, or other suitable materials to secure the edges and connection points of the net. If you need to connect two or more nets, make sure the connection points are strong and seamless.
Step 5: Check and Adjust
Inspect the entire installation to ensure that all poles, support structures, and nets are securely installed and fixed. Adjust the tension and position of the net as needed.
Step 6: Clean and Maintain
Clean the installation site and recycle or dispose of any waste materials. Regularly check the nets, poles, and support structures to ensure they are still firm and intact.
It is important to note that the net must be pulled tight to effectively resist hail attacks. In seasons when the hail net is not needed, pull the net to one end and tie it or remove and store the net to prevent weathering and aging, thereby extending its service life.
How to Install Draped Hail Netting?
Installation of draped hail netting is similar to overhead netting, with a key difference. This net is draped in rows to encase the fruit trees, instead of covering the entire area. This method helps hail to rebound or roll down to the ground, and the tight wrap also aids in bird and insect prevention.
Before installation, measure the planting area to prepare the necessary materials. Here are the installation steps:
Step 1: Measure and calculate materials.
Calculate the area and number of fruit tree rows. Select the appropriate hail netting width and length for each row. Determine the height and quantity of poles needed, as well as other accessories and tools.
Step 2: Install the support system.
To prevent hail damage, install poles and connect them with steel wire ropes or brackets. This supports the hail net and creates a collision buffer zone.
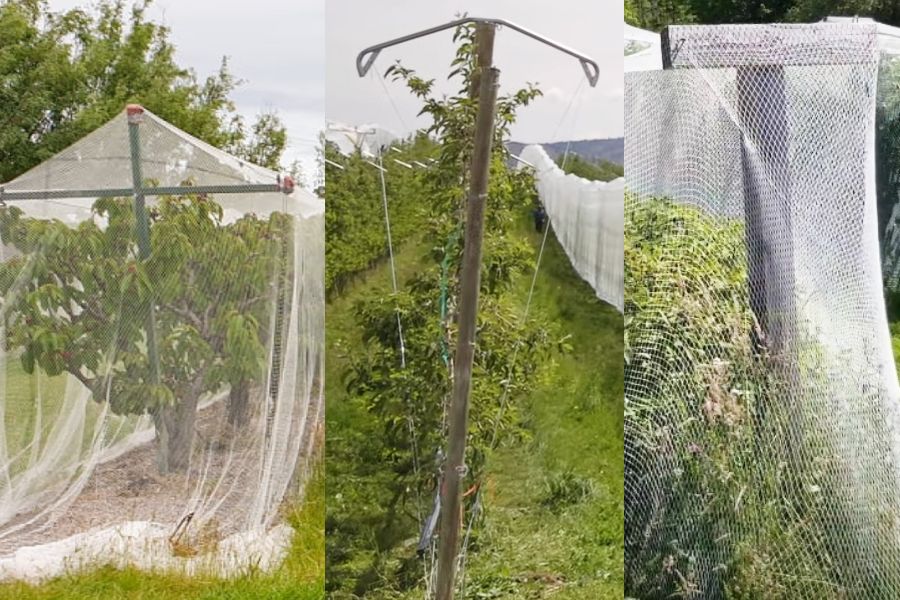
Step 3: Lay the hail net.
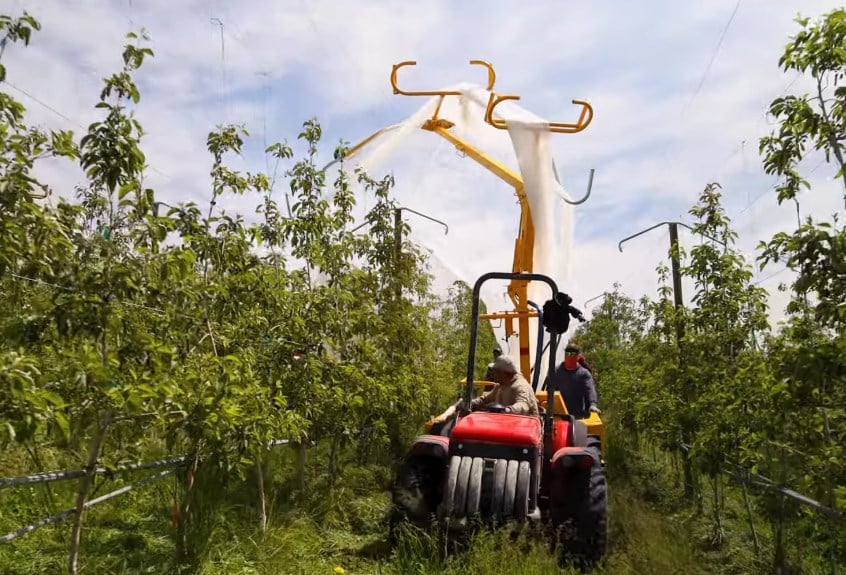
Hang the net on the support system and secure its edges and connection points with ropes, connectors, or other suitable materials. Adjust the net to cover the entire protection area. If the trees are tall, a ladder may be needed to place the net on the poles. For large commercial orchards, tools like “Net Wizz” can quickly install and remove hanging hail nets.
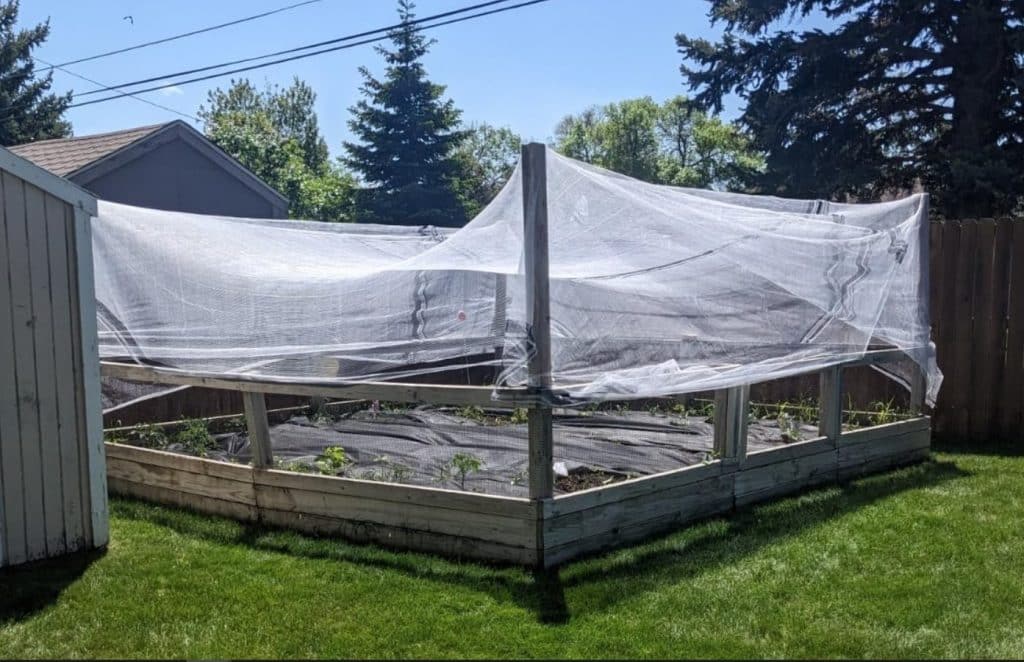
How to Install Hail Nets for Small Gardens?
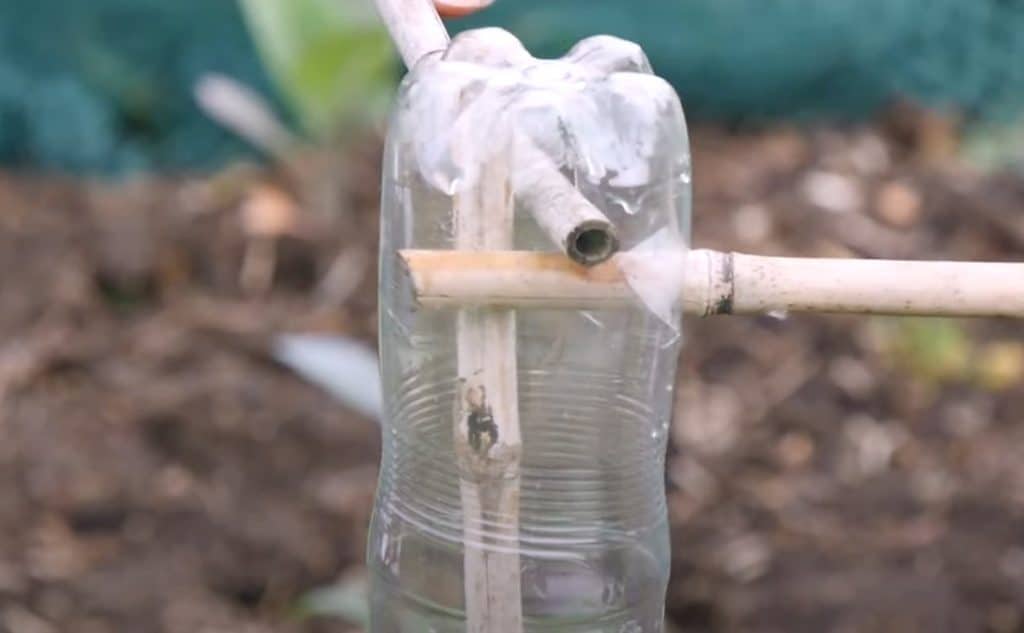
For small home gardens, you can use simple stands, bamboo, or wooden poles to hold up the hail net. These materials are easy to get and install. For example, you can stick bamboo or wooden poles in the ground and then fix the hail net on these supports. Lastly, use ropes or strings to secure the edges of the hail net to keep it steady. This method is suitable for small gardens.
Here are some installation ideas:
When to Install Hail Netting for Your Garden or Orchard?
Selecting the proper time to install hail netting is key to maximizing its efficacy and longevity. It’s best to install the netting before hail season begins, typically in late spring or early summer. This ensures your crops are safeguarded throughout the hail-prone months.
Also, aim for calm, dry weather during installation to facilitate a smooth and safe process. Lastly, consider your crops’ growth stage, as installing the netting too early or too late can hinder their development.
Hail Net Installation Video Resources
Sadszwedo – Install overhead hail netting
Spinazzè Group Spa – Install poles for hail netting
FruitSecurity Holland – Install poles and hole-testing
Drape Net North America – Use NetWizz to hang the hail netting